


Why Taking Body Measurements Before Sewing Matters

One of the reasons most of us enjoy sewing is because we can achieve the perfect preferred fit for our clothing.
So many pieces are created with one general body type in mind, and I’m not sure if you’ve noticed this, but we are all created differently!
Your hips are different from mine.
Your chest is different from mine.
Even the length of your torso is different from mine.
But when all of the clothing in stores is created based on a cookie cutter measurement list, it’s likely that the pieces aren’t going to be as flattering on our bodies as they could be. Sewing and creating your own garments is the key to creating stunning, comfortable, and confidence-boosting outfits. Whether you’re a seasoned seamstress or a beginner behind the Singer, accurate body measurements are the foundation for a successful finished piece.
Let’s look at some essential steps to ensure your garments fit well.
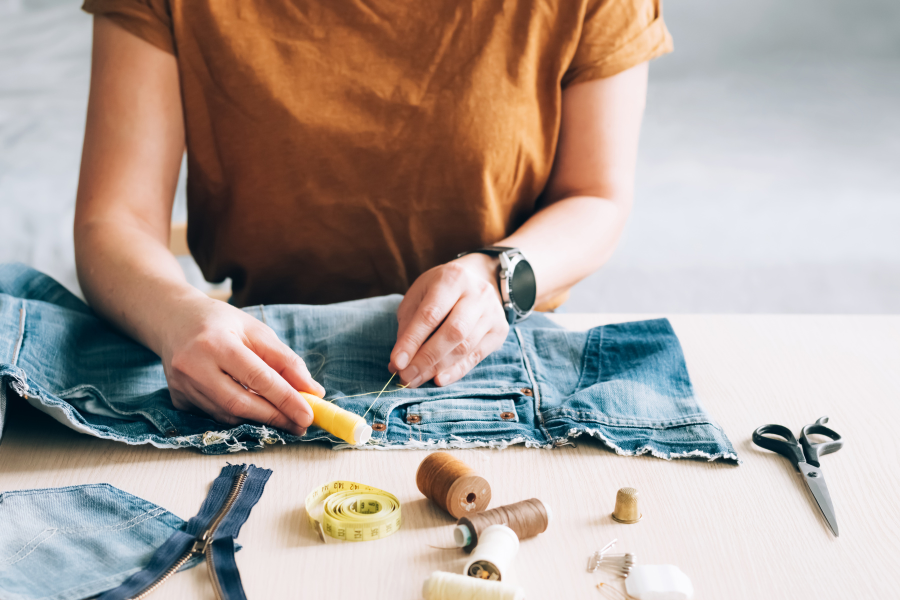
- Gather Your Necessary Tools:
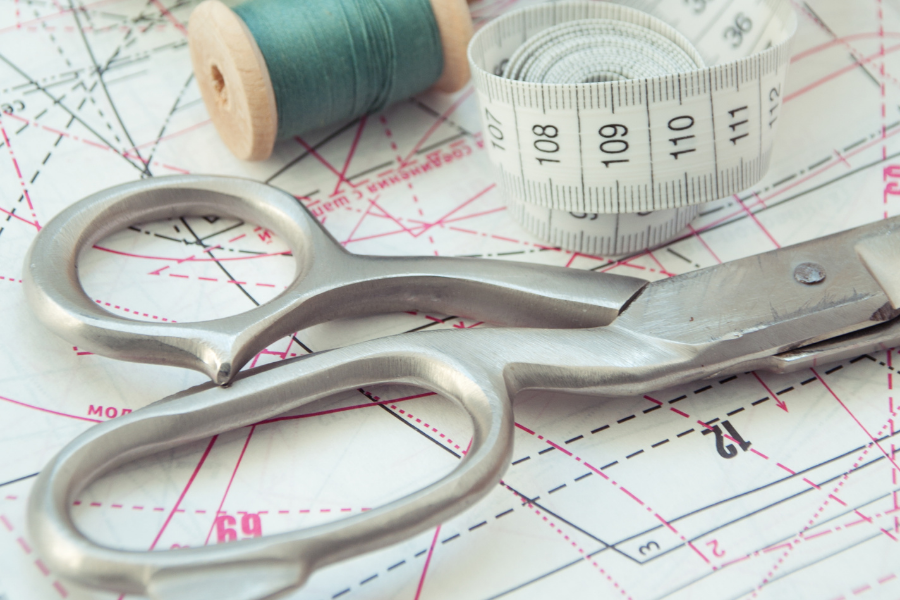
Before diving into the measuring process, it’s crucial (and will save you a heck of a lot of trouble) if you have the right tools at your disposal. You’ll want to make sure you have:
- A flexible tape measurer (and for the love of sewing, get yourself a new one every few years to make sure it hasn’t stretched over time and it’s still capturing the correct measurements.)
- A Notebook to record measurements
- And be sure to wear (or have your model wear) form-fitting clothes or undergarments to get the most accurate results.
-
Identify Key Sewing Measurement Points:
The most common measurements you will need to capture are:
- Bust
- Waist
- Hips
But it’s not quite as simple as just finding three measurements on the body and boom, you’re all set. Depending on your project, there are a number of other measurements that you might need to capture within those areas to make sure you have a successful sewing experience.
Understanding where to measure is the first step towards precision, and the ultimate key to perfecting your technique and reducing the number of errors in your work.
Here are a few key measurements to record, but remember to review each pattern for specific areas that may need to be addressed for that garment.
Bust:
- Full bust – Measure around the fullest part of your bust, ensuring the tape is parallel to the ground and snug but not tight. It can help to stand sideways to make sure the tape is parallel to the floor.
- High bust – This can be a bit tricky to do yourself. Measure above your bust and underneath your armpits. The tape will not be parallel to the floor for this one, but more at a diagonal. Keep your arms down when checking this number. Many sewing patterns will not give a high bust measurement in their sizing chart; however, it is an important measurement to understand. The relationship between your Full bust and High bust is what you will need to determine if you need a Full Bust Adjustment (FBA) or a Small Bust Adjustment (SBA).
- Bust depth – having this measurement is important if your garment has darts, so you are able to determine if you need to raise or lower them. Measure from the top of your collar bone to the apex of your bust to get this information.
Waist:
Your natural waist is between the end of your ribs and the top of your hip bones, again standing sideways in front of a mirror will be helpful. Measure without pulling the tape too tight.

Hips:
Measure around the fullest part of your hips, typically 7-9 inches below your waist, keeping the tape parallel to the ground. The important thing here is to make sure you are measuring the fullest part of your bottom half; this will help with a comfortable fit.
When we sit down, our hip and sometimes waist measurements increase as our body spreads. If you’re making anything form-fitting, knowing your seated measurements is essential to not popping a button or feeling like a busted can of biscuits at the dinner table. 😉
Inseam:
For pants or trousers, measure from the top of the inside leg to the desired length, depending on your length preference.
Shoulders:
Find the bone at the hinge of your shoulder (that is your shoulder point, and where a set-in sleeve seam would be), measure across from one shoulder point to the other shoulder point across your back. This is an important measurement to determine if you need to make any necessary narrow or broad shoulder adjustments.
Sleeve Length:
Measure from the shoulder bone down to the wrist for the sleeve length you prefer.
Bicep:
This measurement is helpful to compare the width across a sleeve on the pattern to check how easily your arm will be able to move within the garment. A slim fitting sleeve still should have 2” or more of extra room to be comfortable as you move, but if you’re wanting even more flutter in your sleeve, add that extra space you want on top of the additional 2” required from the slim fitting sleeve.
Thigh:
This plays an important role when sewing pants or shorts. Be sure to measure the widest part of your upper thigh when capturing this measurement.
Calf:
This one isn’t necessary for all patterns, but it’s an important number to have for form fitting pant legs (like those activewear leggings we shared about previously)**Link activewear blog here Measure the fullest part of your calf, right below your knee for the best representation of your lower body.
Nape to Waist:
For those of us that are a bit taller than most patterns, measuring from the nape of your neck to your natural waist can help you determine if you need to adjust the bodice length. You’ll want to start this measurement at the very base of your neck (typically there is a predominant bone here you can reference), to your natural waist. Check with your pattern and make adjustments if needed.
Reminders and Tips:
- If you are printing a PDF pattern, make sure you are printing to scale! This sounds like an obvious tip, but just a slight change in the correct scale will cause the pattern to be off and your project to end up not fitting properly.
- Measure twice-and then measure again! Once you make that first cut, there is no going back. Take the extra step to measure multiple times to ensure you have the right numbers recorded. I promise, you’ll thank me for this one later.
- Remember to take your measurements frequently. Our bodies do change and shift from month to month, and especially year to year. Check your measurements each time before starting a new project to make sure your numbers are correct, and if you’re using a pattern from a new designer, always measure yourself again based on their suggested measurements/guide. Every designer has a different block they base their patterns around and it’s in your best interest to double check their specific guidelines before starting a new project.
- Keep in mind, you may not fit into one single size. Yes, you read that right. Like I mentioned before, we are all built differently and not one person is an exact cookie cutter version of another. So, grading between sizes from your waist to hips, or your bust to your waist is very common. Don’t get hung up on the numbers, the fit is what matters and what will ultimately make you feel the most confident and comfortable in your new creation.
Taking these steps may add an additional 5-10 minutes to your project, but I can promise you that it will be worth it in the long run when you have less errors on your completed garments.

Tools & Resources
Sewing Planner – The Pattern Shop
Measurement Chart for Men – D-I-Y Fashion Rebel
Video Tutorial for Visual Assistance:
- Seamwork How Measurements Make Your Sewing Better
- Sew Over it How to Measure Your Bust, Waist and Hips for Dressmaking
Did you find this helpful? I’d love to hear below so I can create more posts like this for you in the future!


This blog was originally posted on July 1, 2024.