

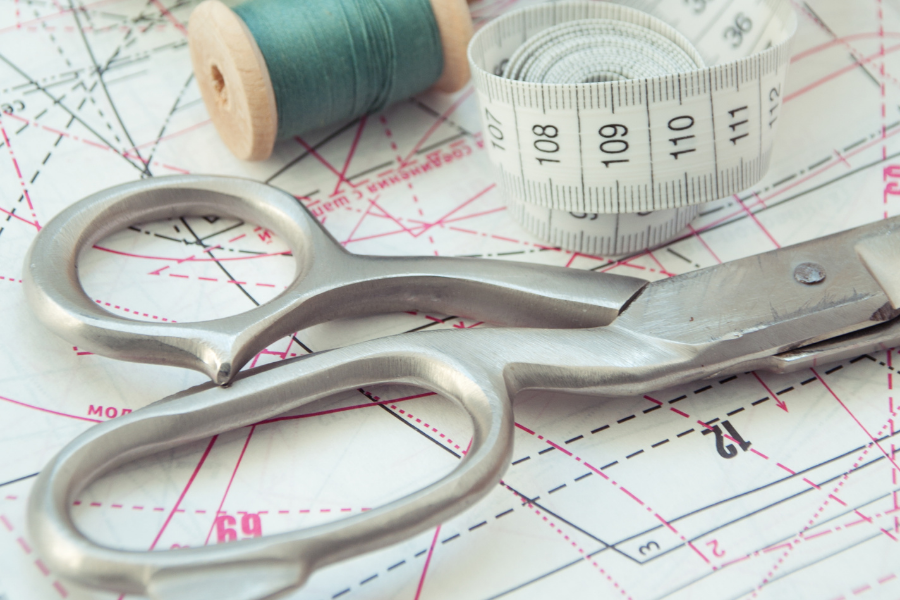

Unwrinkling the Mystery: Pressing vs. Ironing for Flawless Sewing

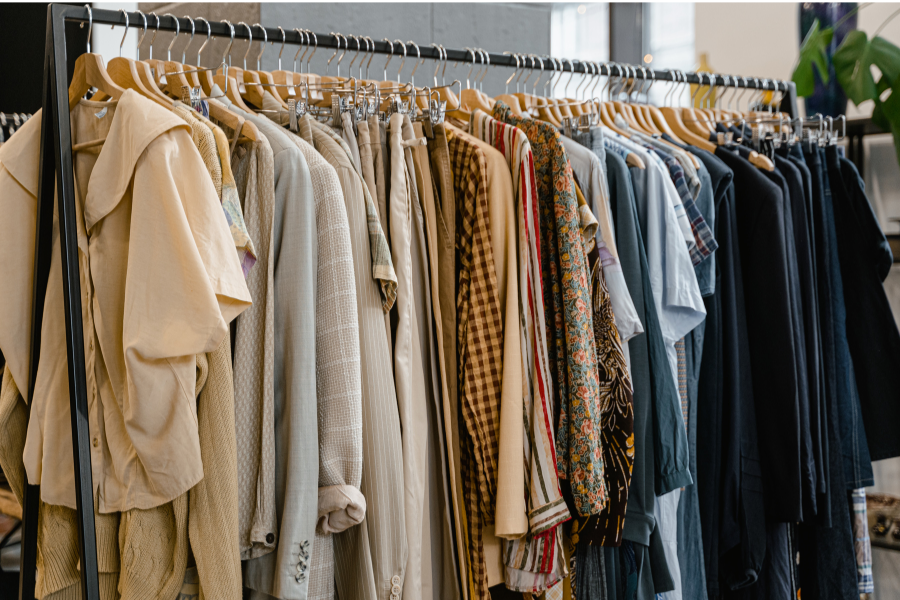
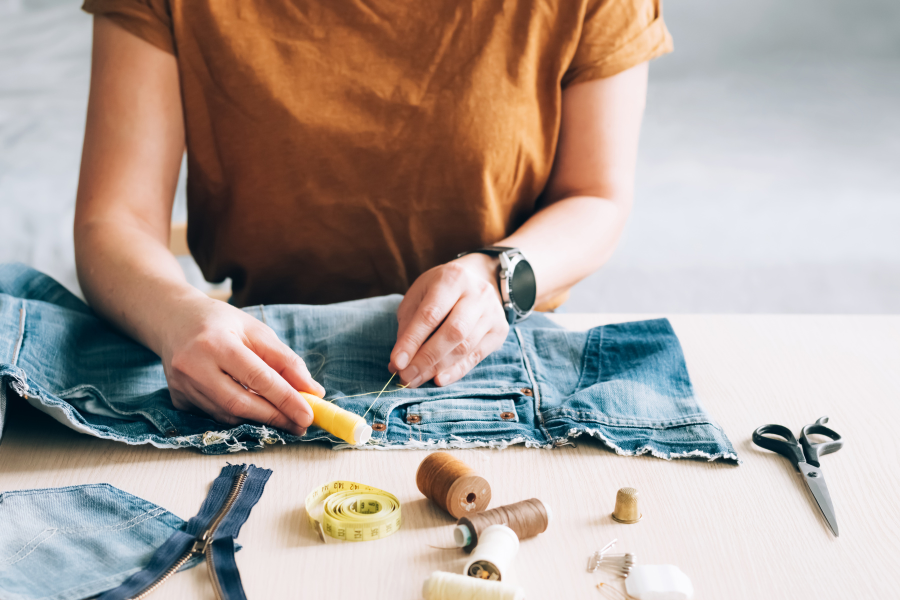
In the world of apparel sewing, mastering the art of ironing (or pressing) is almost like having a magic wand. Pressing transforms a 2D piece of fabric into a polished 3D creation. Whether you’re a seasoned seamstress or just starting your journey with a needle and thread, understanding the importance of proper ironing techniques can elevate your sewing projects from amateur to professional grade. In this blog post, we’ll delve into the world of pressing in sewing, exploring tips, techniques, and essential tools to help you achieve flawless results every time.

Ironing vs. Pressing: First a breakdown of these two seemingly interchangeable terms. Ironing and pressing both use an iron to heat fabric. Ironing is done with a back-and-forth movement, typically to release wrinkles. Pressing refers to holding your iron still and applying pressure, this is used to shape garments that are being crafted by sewists.

Tools for Pressing
Like many items in our sewing room, pressing tools can be acquired over time as you continue your sewing journey. If you are a beginner, a household iron and ironing board is fine to start.
- Iron: Irons range from inexpensive household varieties to fancy gravity-fed steam irons. Choose one that fits your budget and space requirements. Adjustable temperature is the most important feature. If you have children or pets, also consider one with an auto-shut off function. Spend some time with your iron to make sure you are comfortable with the heat settings, as well as the steam and spray functions.
- Ironing Board: Invest in a quality ironing board with a stable frame and ample padding. Consider one with adjustable height settings for ergonomic ironing. Choose an ironing board cover that can easily be removed for cleaning, and is made of cotton, linen or hemp. A reflective cover throws heat back and reduces absorption.
- Pressing Cloth: A pressing cloth helps protect delicate fabrics from direct heat and prevents shine or scorch marks. I use a silk organza pressing cloth, it’s transparent and helps me see the details on the garment I am pressing. However, you can use any undyed fabric without a nap, such as cotton or muslin.
- Spray Bottle: Fill a spray bottle with water to mist fabric before ironing. This helps relax wrinkles and aids in shaping. Some irons have a steam function that can be used in place of a spray bottle, but keep in mind that lower quality irons may leak and the holes on the face plate can imprint your fabric.
- Tailor’s Ham and Sleeve Roll: These specialized pressing tools are invaluable for shaping curved seams, such as sleeves or darts. These are tightly stuffed pillows that mimic the curves of our bodies. The Tailor’s Ham is perfect for darts and hip curves, while the Sleeve Roll works best on cuffs and sleeves. These are investment items if you plan on doing a lot of garment sewing. However, there are many tutorials and YouTube videos to help you make your own, if you prefer.
- Clapper: A Tailor’s Clapper is a wooden tool used to help create a hard crease or extra flat seams, especially helpful with thicker fabrics. Once seams have been pressed and steamed, place the clapper down and hold for 15-20 seconds. The wood traps the steam and helps hold the crease.

Tailor’s Clapper
When to Press
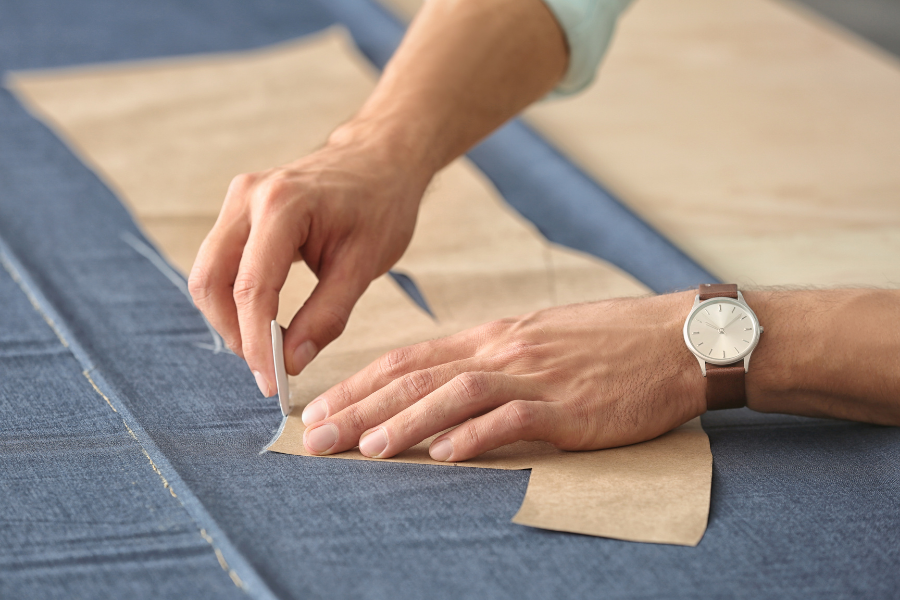
To prepare fabric: Ironing your fabric before cutting ensures its smooth and free of wrinkles, making it easier to work with and resulting in more accurate cuts.
To flatten seams: Well-pressed seams lay flat and contribute to the overall professional finish of your garment or project. They also make subsequent steps, such as topstitching, much easier. Press the seams as they are sewn, this helps set the stitches. THEN, press open or to the side as described in your pattern instructions.
To shape fabric: Ironing helps shape and mold fabric, whether you’re creating pleats, darts, or crisp edges. It’s crucial for achieving the desired structure and silhouette in your creations.

Techniques for Good Pressing
Choose the Right Temperature: Different fabrics require different heat settings. Synthetic fabrics can melt under high heat and should always use low heat. Start with a lower temperature and increase as needed to avoid scorching or damaging delicate fabrics. If you are unsure, here is a handy temperature chart from Sewn Scissors. Also be careful directly pressing polyester thread with high heat, it can melt as well! Not sure what fiber your fabric is? Check out this blog post for the burn test process.
Press, Don’t Slide: Press the iron onto the fabric and lift it straight up, rather than sliding it back and forth. This prevents stretching or distorting the fabric fibers and gives you more control.
Follow your pattern directions: If you’re sewing a garment and the directions indicate that it is time to press, do it! You may cover up a seam or make it unreachable at a later point. If your directions do not tell you when to press, a good rule of thumb is to press every seam. Yes, every one!
Invest in Quality Tools: A good iron and ironing board are essential for achieving professional results. Look for irons with variable temperature settings and a smooth, non-stick soleplate. A sturdy ironing board with ample padding will provide a stable surface for pressing. There are other tools you may use on your pressing journey, but this is a great start to success.

Mastering your iron is non-negotiable in apparel sewing. Well-pressed seams can elevate any project to a new level. Your iron is one of many tools that can shape, form, and manipulate fabric to help you achieve your desired look. Once you know the difference between a well-pressed seam and one that has been ignored, you will see an improvement in your projects.
Happy pressing!