
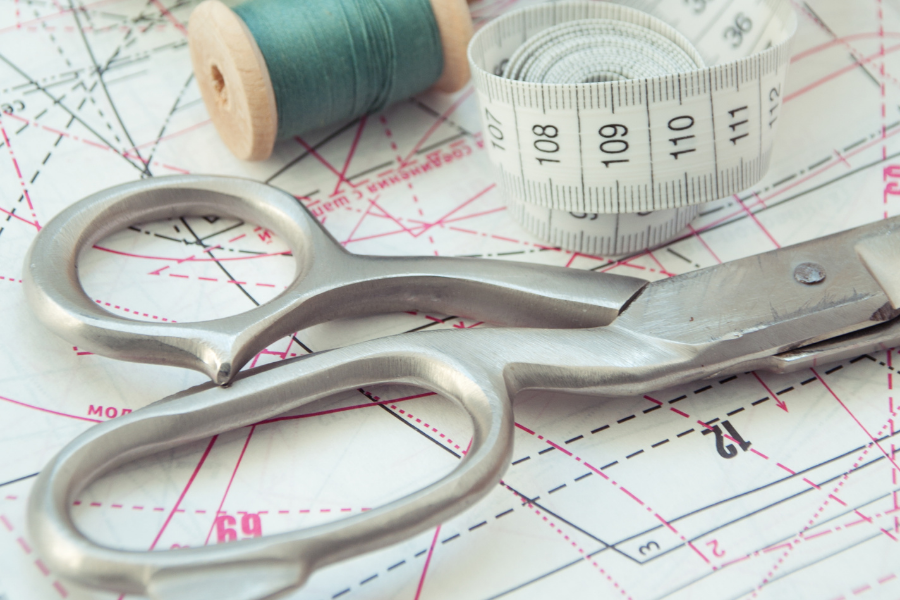


Understanding Fabric Bias and Its Applications
Ever picked up a sewing pattern and paused at the word "cut on the bias"? Maybe you shrugged and followed directions, or maybe you panicked—cue visions of wobbly seams and fabric stretching in every direction except the one you wanted. Don’t worry, you’re not alone! Fabric bias is that sneaky little detail in the world of sewing that can absolutely transform a garment—for better or for not-so-better. Whether you’re dreaming of Old Hollywood drapery or a neatly bound neckline, getting the bias right is a need-to-know skill.
So, what really is fabric bias, why does everyone make such a fuss about it, and how do you actually use it to your advantage? Stick around, because I’m walking you through everything you need to know to master fabric bias and upgrade your sewing confidence.

What Exactly Is Fabric Bias?
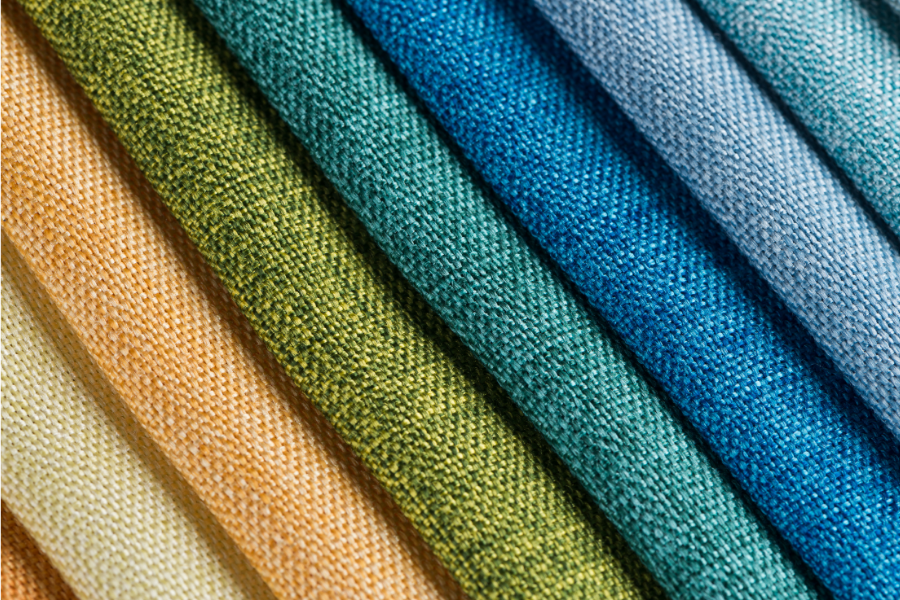
Let’s break it down with zero fluff and no mystical sewing jargon—promise. You’ve probably noticed that woven fabric has threads running two directions: up and down (lengthwise, or warp) and side to side (crosswise, or weft). The “grainline” refers to those thread directions. Most patterns have you line up pieces with these straight lines, which gives your creation structure and keeps it from stretching out unexpectedly.
The “bias” of a fabric is any diagonal line, but the true bias—the one that really matters—is a 45-degree angle to both the lengthwise and crosswise threads. This isn’t just a fun math lesson; cutting on the true bias maximizes the natural stretch in woven fabrics. It turns a stiff poplin into a slinky slip dress, or transforms stable cotton into a binding that curves like a dream.
Quick Definitions
Here are a few common terms you’ll run into:
- Bias: Any diagonal direction on the fabric.
- True Bias: The 45-degree diagonal, where the magic stretch happens.
- Grainline: Direction of threads (lengthwise and crosswise).
- Selvage: The finished edge of the fabric that doesn’t fray.
Why Does Fabric Bias Matter?
Bias isn’t just one of those rules fussy sewists insist on for fun—it genuinely makes or breaks certain garments. When you cut fabric on the true bias, you unlock its full potential to stretch, drape, and contour. That means:
- Garments hug curves without tightness or pulling.
- Dresses flow and swirl beautifully (think of vintage slip dresses or the iconic 1930s bias-cut gowns).
- Cuffs, collars, and necklines become easier to finish with neat, flexible bindings.
- You can add visual interest with diagonal stripes or plaids, creating dynamic lines and chevrons.
Conversely, skip the bias where it matters, and your projects could end up stiff, warped, or unwearable. Ever tried to force a boxy dress to flatter? Next time, try bias for instant glamor!

The Difference: Bias vs. True Bias vs. Grainline
- Cutting with the grain (lengthwise or crosswise) gives your garments stability, which is great for fitted pants, structured shirts, and anything that needs to hold its shape.
- Cutting on the bias gives flexibility, softness, and flow.
- True bias (again, that golden 45-degree cut) produces the most stretch in woven fabrics—not to be confused with knit fabrics that have their own elastic magic.
So, unless your pattern says otherwise, “cut on the bias” almost always means “find that 45-degree line.” But how do you actually find it?
How to Find the True Bias
Here’s where sewing starts to feel a bit like geometry class—but I promise, it’s simple.
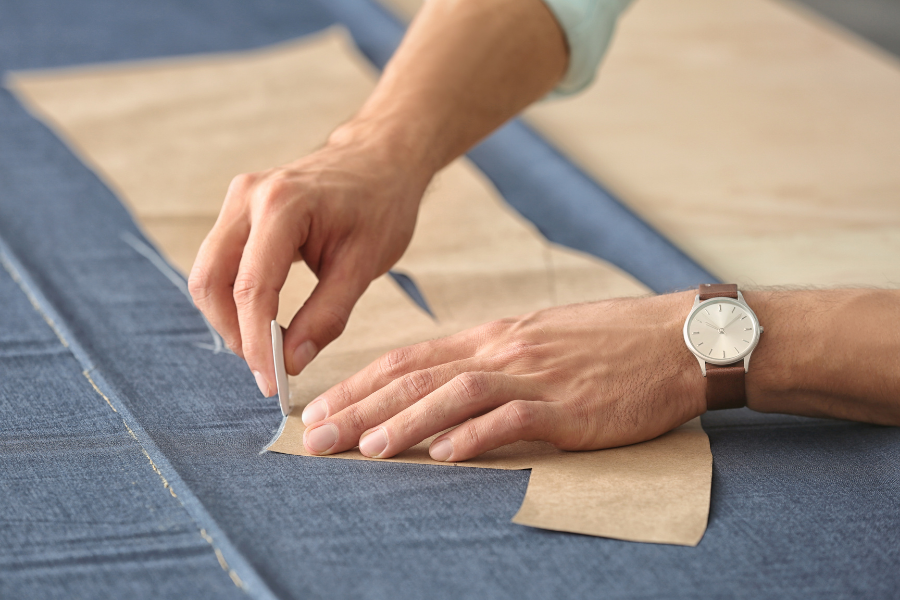
1. The Right Angle Ruler Method
- Find a corner of your fabric.
- Measure 6 inches up the raw edge and 6 inches along the selvage.
- Connect those dots with your ruler. That’s your true bias.
- Mark it with a fabric pen, so you don’t lose it!
2. The Pattern Method
- Most commercial patterns have arrows showing the grainline.
- Lay out your pattern so that the grainline arrow matches the fabric’s lengthwise threads.
- You’ll now see where a 45-degree bias would fall in relation to your cut.
3. The Stretch Test
- Can’t find the selvage? Try stretching the fabric in different directions.
- Lengthwise has almost no stretch.
- Crosswise might have a little give.
- Bias? That’s where you’ll feel the most stretch. Mark that diagonal.
How to Cut on the Bias (Without Losing Your Mind)
Bias cutting is both a science and a little bit of art—here’s how to avoid the headaches:
For Pattern Pieces:
- Wash and dry your fabric first (shrinkage + bias = disaster).
- Find your true bias using one of the methods above.
- Use a rotary cutter and a mat for clean, crisp cuts—fabric scissors can distort bias edges.
- Handle with care. The stretchiness that makes bias great also means it can wiggle out of shape in your hands.
Making Bias Tape:
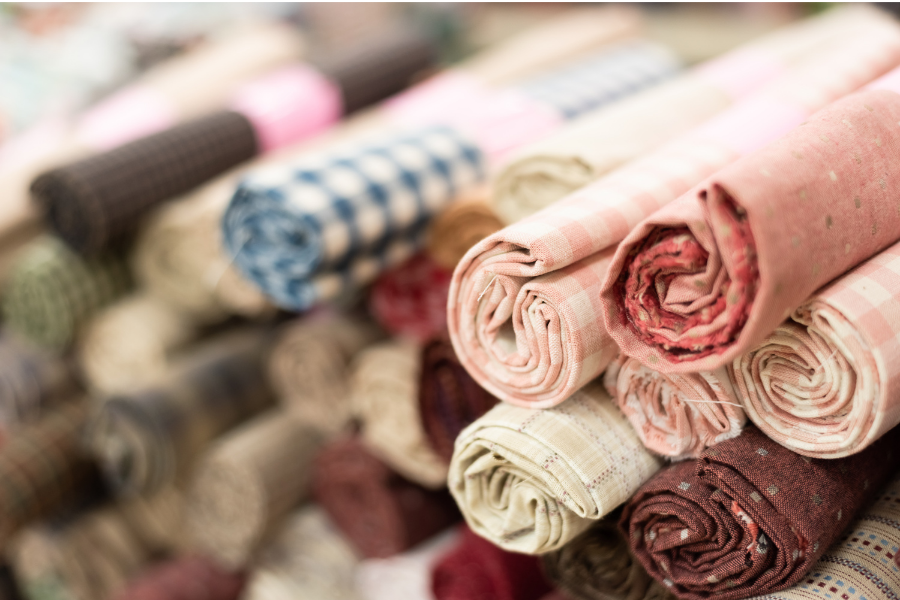
This is essential for finishing edges on necklines, armholes, even as decorative piping. Here’s my go-to method:
- Lay your fabric flat, with selvages on your left and right.
- Fold one raw edge up, matching with the opposite selvage, forming a right triangle.
- Use your rotary cutter to trim off any folds, so you’re working with a crisp new edge.
- Cut strips at your desired width; if you need a lot, refold and stack for efficiency.
- Store extra strips folded in the same triangle—they’ll be ready for next time.

Key Applications of Fabric Bias in Garment Sewing
1. Garments that Need to Drape or Hug the Body
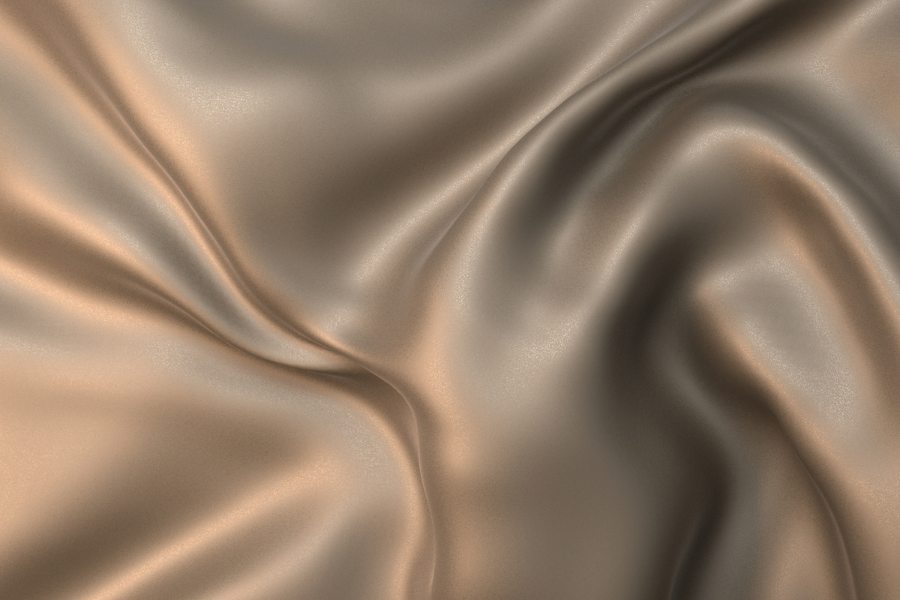
- Slip dresses, 1930s gowns, or floaty blouses: Bias-cut fabric drapes over curves, dancing with movement, not against it.
- Luxe fabrics like silk, satin, or rayon absolutely shine when bias-cut.
2. Bias Tape & Binding
- Perfect for smoothing raw edges on necklines and armholes.
- Seamlessly encases curves—no puckering or pulling.
3. Decorative Effects
- Ever seen stripes or plaids running diagonally on a placket, pocket, or collar? That’s bias at play.
- Mixing grain and bias can add pop, texture, and a “designer” look to otherwise simple garments.
4. Tricky Accessories
- Sashes, belts, and lingerie straps benefit from the gentle stretch—the fit is more comfortable, and tying is a breeze.
Tips for Handling Bias-Cut Fabrics
Bias-cut pieces can be a joy, but they’re also sneaky. Here’s how to keep things under control:
- Stabilize edges ASAP. Stay stitch (a line of short machine stitches) curves and edges before sewing. It’s like a seatbelt for fabric.
- Let bias-cut pieces “rest.” After cutting, let them relax on your workspace for a couple of hours. This allows the fibers to settle so there’s less shifting when sewing.
- Press gently. Use lifting motions, not back-and-forth sliding. Bias stretches easily with heat!
- Pin, pin, pin! Use extra pins or even baste seams with long, loose stitches before final sewing.
Bias in Different Fabrics: When It Works Best
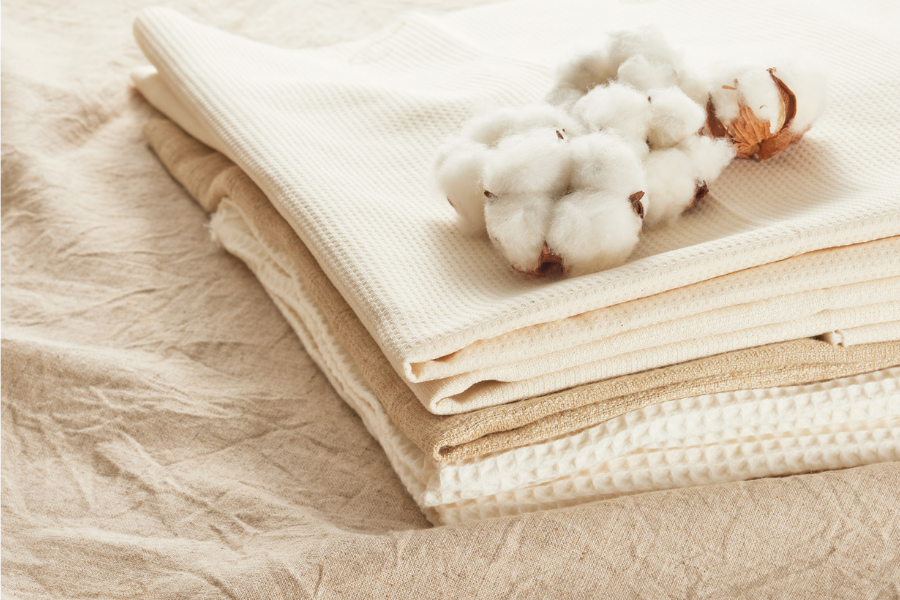
Not all fabrics love to be cut on the bias. Here’s where it shines:
- Lightweight, drapey fabrics are absolute showstoppers (think silk, viscose, or chiffon).
- Even linens and light cottons get extra movement and comfort when bias-cut.
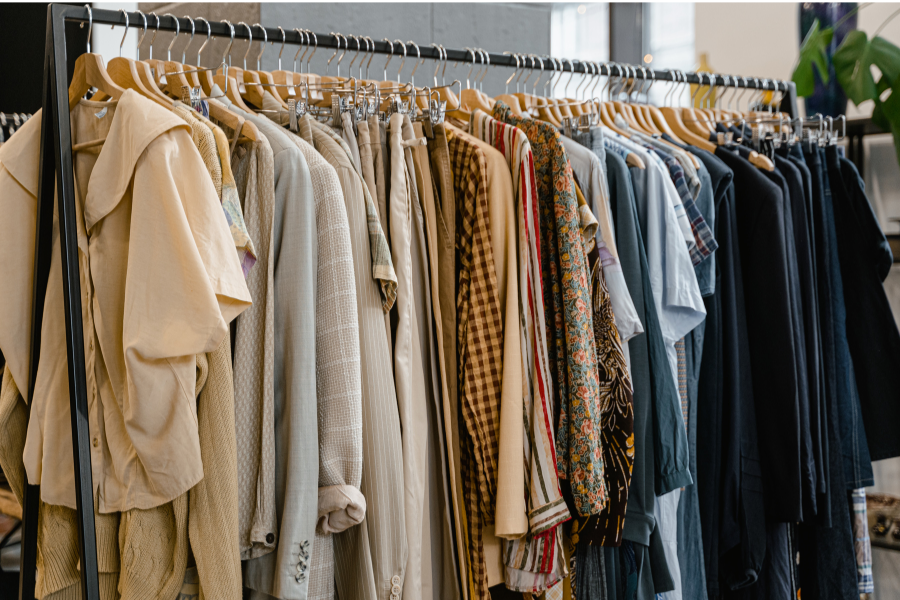
- Stiff or structured fabrics (like denim, canvas, or interfaced sections) don’t benefit as much—sometimes the result is a fabric that’s just weirdly limp.
Remember, knits have enough built-in stretch, so bias isn’t usually needed. Save it for wovens where you want that unique drape.
Challenges of Working with Bias (and How to Beat Them)
Here’s what you’ll face:
- Stretchy, wiggly edges: They can distort if handled roughly. Always use sharp tools, gentle hands, and support with interfacing when needed.
- Seams that “grow”: Over-handling can cause uneven hems. Stay stitch and let fabric hang overnight for bias-cut hems to “drop” before final hemming.
- Potential puckering: Take your time! Use longer stitches and minimize pulling on the fabric as it feeds through your machine.
Every sewist has at least one bias horror story—but now, you won’t have to add your own.
Amazing Creative Effects
Bias isn’t just practical—it’s a designer’s best friend. Playing with bias can turn stripes into chevrons, make plaid lines zigzag, and give standard patterns new life. It also unlocks glorious movement. Watch a bias-cut dress in motion—it ripples and hugs the body, never stiff, never boring.

Wrapping Up: Take Your Sewing Further with Fabric Bias
Fabric bias may seem like a detail only the sewing obsessed care about, but once you try it, you’ll see the difference in both the fit and finish of your garments. Bias is the secret behind slinky slip dresses, perfectly curved bindings, and drapey, red-carpet-worthy gowns. Once you’ve felt a bias-cut satin swirl around your legs or nailed a bias-bound neckline with zero wrinkles, you’ll never look back.
Ready to experiment? Grab a fresh cut of your favorite fabric, a sharp ruler, and your best pattern. Mark your bias, cut with confidence, and trust what the fabric can do. And if you ever want to geek out more about fabric science or need the inside scoop on your next project, you know where to find me at Sewing Studio. Don’t just sew—sew smarter. Your next showstopper awaits!