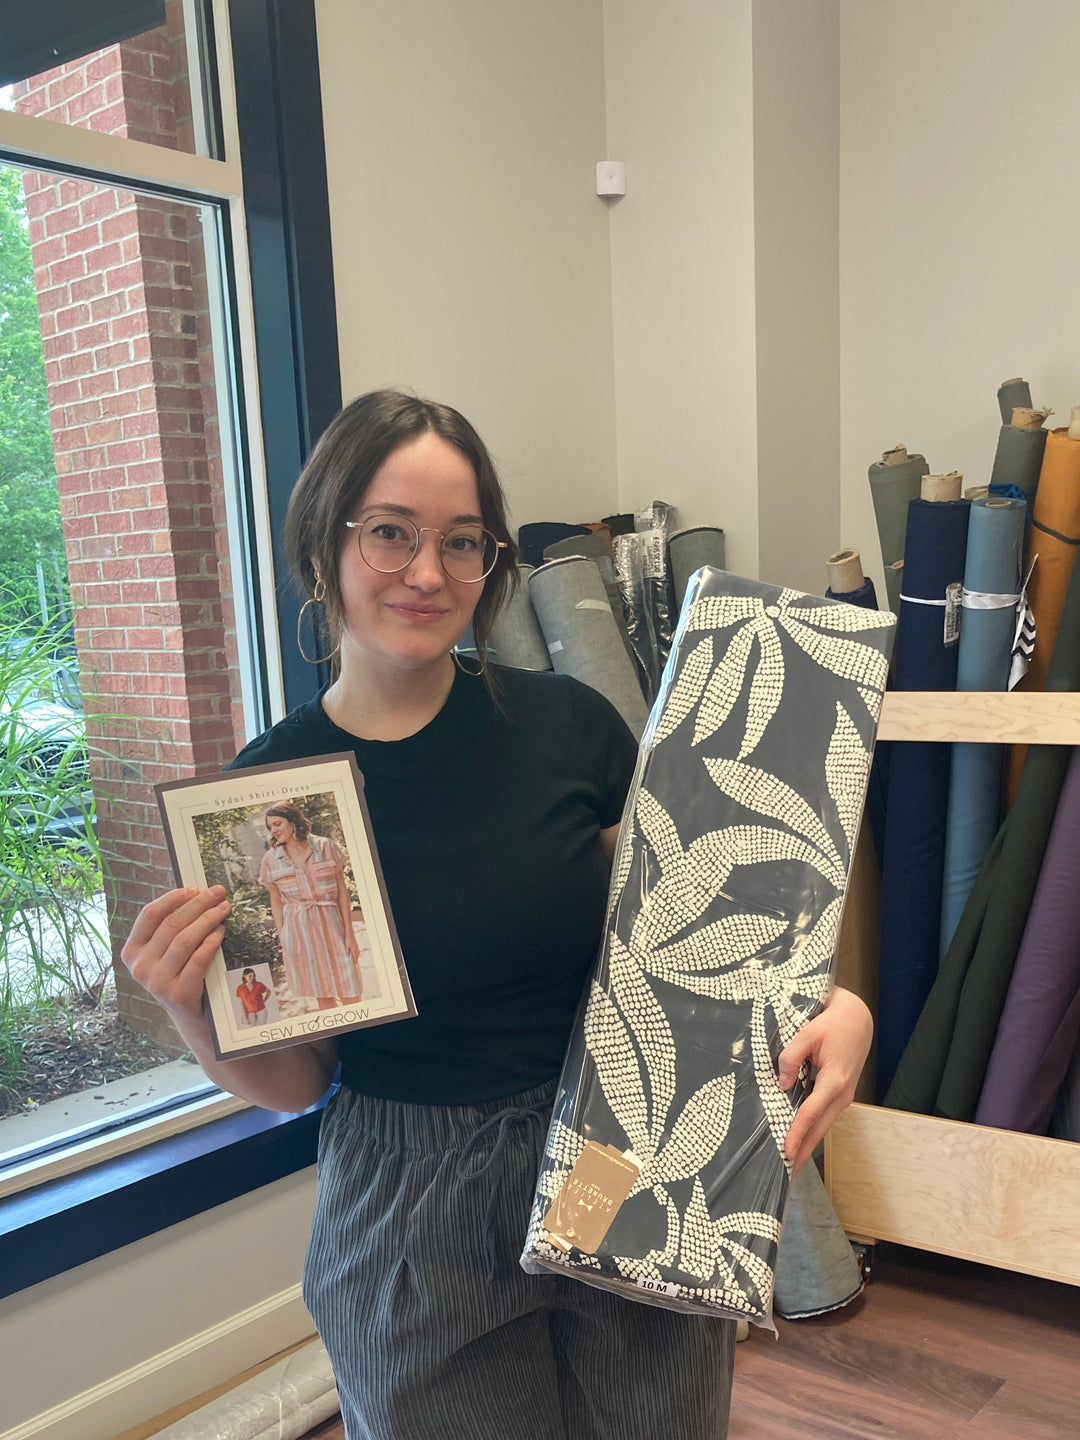


Taming the Slippery Beasts: A Guide to Sewing with Flowy Fabrics

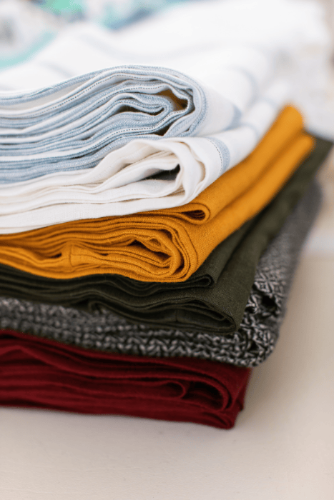
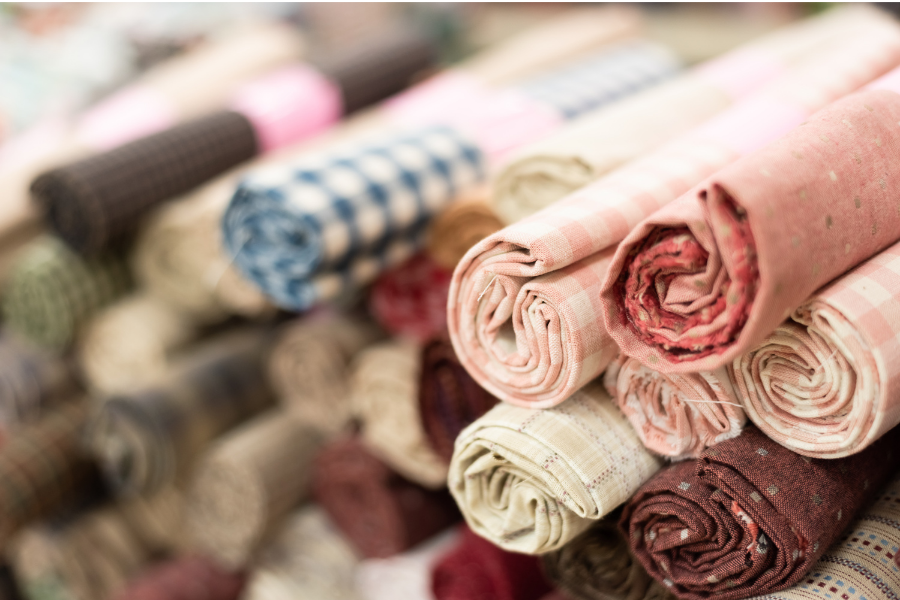
Satin, silk, challis – oh my! The world of flowy fabrics is one composed of elegance and luxury, offering garments that drape beautifully and feel like a dream against the skin. But for sewists, these slippery materials can present a unique set of challenges when sewing with them.
But fear not, fellow sewists! I’m here to share with you a few tricks and tweaks to your sewing approach, you can navigate those slippery fabrics with ease and create garments worthy of royalty.
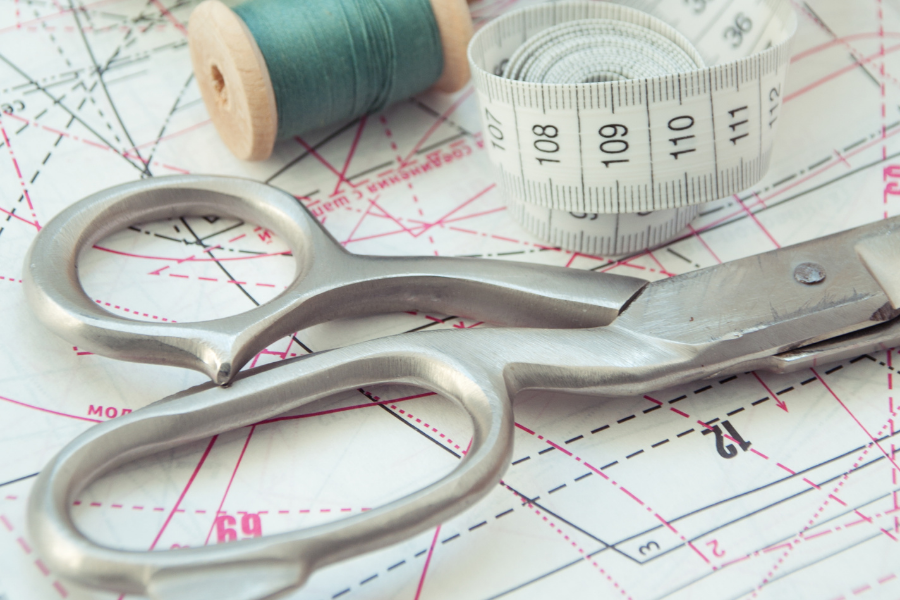
Step 1: Preparation is key!
The key to sewing success with slippery fabrics starts even before you touch your sewing machine. Taking these steps prior to starting your project will ensure you have less errors, and wayyyy less stress throughout the sewing process.
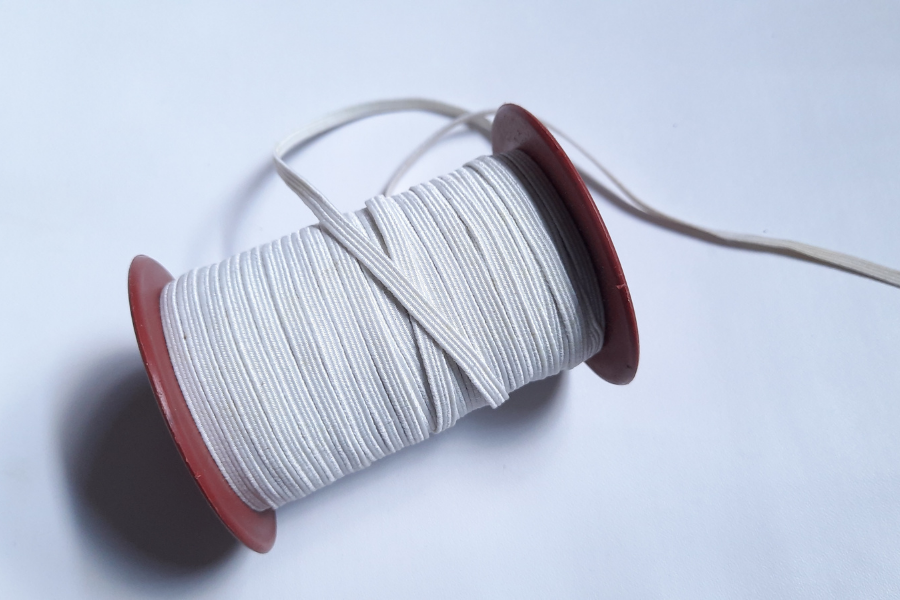
- Starch your fabric before cutting: Hang your fabric up on a clothes dryer or rack, and give it a light spritz with some spray starch (the kind you might use to iron a shirt). This will stiffen the fabric slightly and make it much easier to manipulate when you lay it down to cut. Remember to test the starch on a scrap of fabric first to ensure compatibility!
- Make sharp cuts using a rotary cutter: I know I can’t be the only one who has ever cut slippery fabric with scissors, only to end up with misshapen and uneven pieces that I immediately had to scrap. Scissors tend to lift the fabric as they cut, which can cause it to slide and distort the shape. Instead of using regular shears, opt for using a rotary cutter on a cutting mat for precise and equal cuts. Use a new or very sharp blade for the best possible outcome.
-
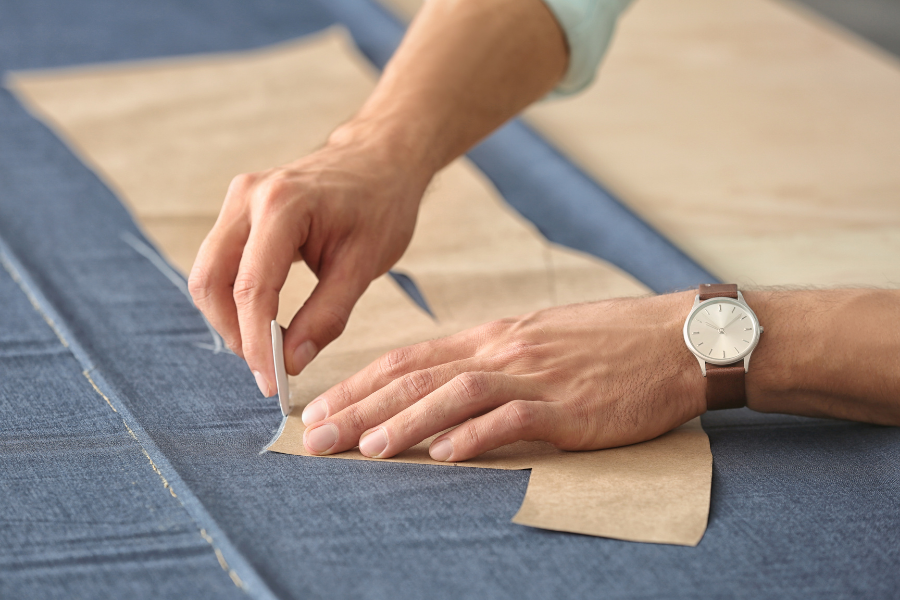
Perfecting your cuts for symmetrical pieces: Slippery fabrics can make it difficult to cut symmetrical pieces on the fold. Here are two solutions:
- Mirror the Pattern: Create a mirrored version of your paper pattern piece so you can place it on a single layer of fabric. This works especially well with starched fabric.
- Open and Match: Open your fabric flat, match the fold line of your pattern piece with the fabric’s grainline, and cut around the pattern piece (but not the fold line). Mark your fold with chalk, then flip the pattern piece and cut the other side. This allows you to cut both mirrored pieces from a single layer.
Interface Pieces First: Small pieces like facings and collars can be particularly tricky to cut accurately in slippery fabrics. If they need interfacing, you may find the fabric shifts while cutting, resulting in mismatched pieces. To avoid this frustration, consider Block Fusing your interfacing. Here is a great Blog post from Allie Olson describing this process in detail. When and How to Block Fuse Interfacing – Allie Olson Sewing Patterns
Step 2: Choose the *best* sewing technique for the job.

Now that your fabric is prepped and accurately cut, let’s talk about sewing techniques and how to choose the best option for your flowy garment goals.
- Invest in a Walking Foot: I highly recommend investing in a walking foot for your sewing machine if you’re going to be working with flowy fabrics often. This special foot helps to feed both layers of slippery fabric evenly, preventing them from slipping under the presser foot and creating uneven seams.
- Reduce The Pressure on Your Foot Presser: This allows the fabric to glide more easily under the foot, preventing puckering, bunching, and skipped stitches. Ease up on the pressure for this project to save yourself a lot of headache.
- Your Stitch Selection Matters: When working with lighter, flowy fabrics, opt for a straight stitch to reduce errors in your technique. Decorative stitches can be tempting, but they can also distort the fabric. If you’re working with a sheer fabric, consider using a French seam for a clean and enclosed finish.
- Lengthen Your Stitch: A longer stitch length reduces the number of holes created in the fabric, making it less likely to snag. With these lighter fabrics, mistakes do matter and you want to reduce the number of holes as much as possible to keep your fabric in tip top shape.
- Use a SHARP needle: A Microtex or a new Universal Needle are your best options when working with slippery material. These have a pointed tip that helps them pierce flowy fabrics effectively to minimize holes in your fabric (which can easily turn into rips when working with such fragile materials).
- Slow and Steady Wins the Race: Patience is key! Slippery fabrics require a slower sewing speed to maintain control. Take your time, focus on keeping the fabric layers aligned, and don’t be afraid to adjust your pins as you sew.
✨Bonus Tips and Tricks
These additional tips can make your sewing journey with slippery fabrics even smoother. As someone
- Grab yourself some pattern weights: Pattern weights can be an incredibly helpful tool to have in your arsenal, especially when cutting slippery fabrics. These weights hold the fabric down on your cutting surface, preventing it from slipping and ensuring accurate cuts the very first time.
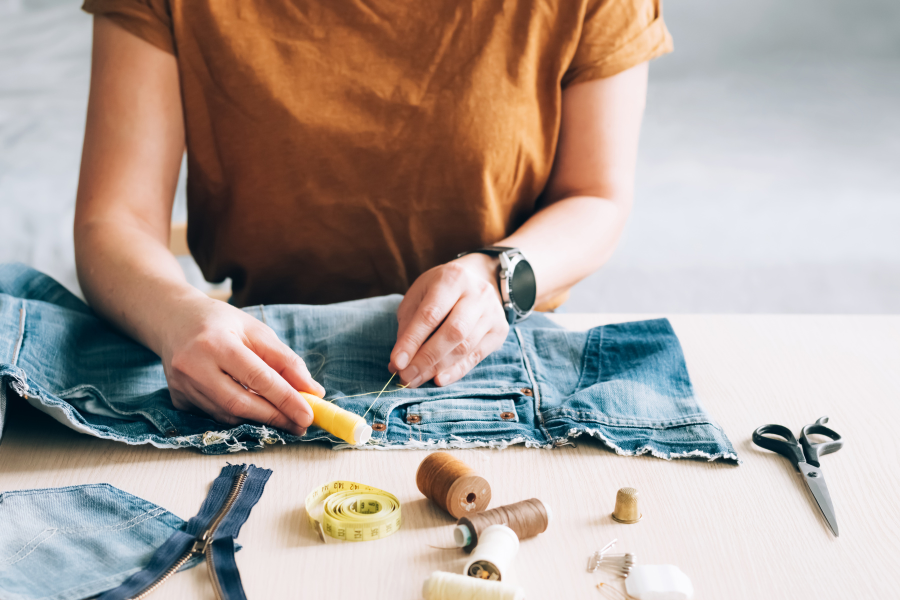
- Basting is your best friend: Baste your seams together by hand before sewing them on the machine. This temporary stitch holds the layers in place and allows you to check for any fit adjustments you might need to make before going all in with a permanent seam. You can also use wonder clips for a faster alternative to basting.
- Layer tissue paper for stabilization: Simply place a layer of tissue paper under your fabric (between the fabric and feed dogs/plate) as you sew. This will help stabilize your fabric and give the feed dogs something a little more solid to grab onto. Once you’re done with your sewing you can just carefully rip the tissue paper away from the fabric.

A few things to keep in mind:

Don’t be surprised if your raw hem appears a bit wonky after finishing your project with a slippery fabric. This is quite common, and I promise you, it is not the end of the world if it happens.
Here’s a simple fix: Let the finished garment hang on a dress form or hanger for at least 24 hours. The weight of the fabric will help to even out the raw hem, and THEN you can finalize your garment with your desired hemline.
And there you have it!
A little education and proper preparation goes a long way when it comes to conquering slippery fabrics. By following the tips & tricks above, I have full faith that you’ll be on your way to mastering the flowy fabric woes in no time!
Remember, even the most experienced sewists experiment on scraps first. There is absolutely no shame in practicing, and practicing some more. Practice makes even the best sewists that much better.
Happy sewing!