




how to sew with silk fabric
Key Takeaways
Silk is a joy to sew when you respect its quirks. Cut it carefully, use the right needle and thread, and handle it with clean, dry hands. A few simple prep steps, like hand-washing before cutting and taping your pattern pieces, make the difference between a frustrating experience and a finished garment you'll wear for years.
- Always pre-wash silk by hand in cool water before cutting to prevent shrinkage later.
- Use a fresh size 60/8 or 70/10 microtex needle and silk or fine polyester thread to avoid snags.
- Tissue paper or wash-away stabilizer under your fabric stops slipping during cutting and stitching.
- Sew a longer stitch length (2.0–2.5mm) and reduce presser foot pressure to avoid puckered seams.
- French seams are the go-to finish for lightweight silks because they enclose raw edges without bulk.
What Makes Silk Different to Sew
Silk earns its reputation as a luxury fiber for good reason, but that same quality that makes it gorgeous also makes it slippery, prone to snagging, and quick to show every pin hole, skipped stitch, and crooked seam. Before you start cutting into a length of silk fabric for dressmaking, it helps to understand what you're actually working with. Silk is a protein fiber spun by silkworms, and it has a tightly woven or woven-twill surface that slides across your cutting mat like it has somewhere better to be. It frays fast, it marks easily, and it holds onto heat imperfectly, which means a too-hot iron leaves a permanent sheen or scorch. None of that is a reason to avoid it. It just means you approach it differently than you would quilting cotton.
Preparing Your Silk Before You Cut
Pre-washing is non-negotiable. Many silks shrink 3–5% after the first wash (Textile Exchange, Fiber Market Report), and you do not want that shrinkage happening inside a finished garment. Fill your sink with cool water and a drop of gentle shampoo or wool wash. Submerge the fabric and swish it gently for about two minutes. Do not wring or twist. Roll it in a clean towel and press out the moisture, then hang or lay flat to dry away from direct sun. Some silk charmeuse loses a little of its shine after washing, which is expected and perfectly normal. If you plan to dry-clean your finished garment, you can skip pre-washing, but commit to that care method consistently.
Pressing before cutting
Once dry, press your silk on a low setting with a pressing cloth between the iron and the fabric. Silk responds to heat well at a low temperature, but anything above the silk setting on your iron risks a permanent watermark or a dulled finish. A dry iron works better than steam on most silk weights. Press gently, lifting and placing the iron rather than dragging it.
Cutting Silk Without the Chaos
Cutting silk on a slippery surface is the number one source of frustration for sewists new to the fiber. The fix is simple: lay a length of tissue paper or a single layer of medical tissue (the kind used in examination tables, sold in rolls at craft stores) on your cutting mat, place your silk on top, and pin your pattern pieces through all three layers. The tissue grips the silk and keeps everything anchored while you cut. Use sharp shears, not fabric scissors that have dulled after years of cutting denim. A rotary cutter with a fresh blade also works beautifully, especially on bias-cut pieces where grain accuracy matters most. Cut single layer whenever possible. Cutting two layers of silk at once doubles your chances of the fabric shifting mid-cut.
Marking silk without damaging it
Skip the tracing wheel entirely on silk. The serrated edge leaves permanent marks in the weave. Instead, use tailor's tacks made from a contrasting thread, or fine silk pins placed just inside the seam allowance. A water-soluble pen works on some silks but always test a scrap first, because the moisture from marking can leave a ring that does not fully disappear.
Sewing Machine Setup for Silk
Your machine setup matters as much as your technique. Start with a fresh microtex needle in size 60/8 for lightweight silk chiffon or habotai, or size 70/10 for silk crepe de chine or dupioni. Microtex needles have an extra-fine, sharp point designed for densely woven fabrics, and they pierce silk cleanly rather than pushing threads aside. A dull needle causes skipped stitches and pulls threads to the surface, which ruins the look of the finished seam. Change your needle after every 6–8 hours of sewing time, or sooner if you hear a popping sound as the needle enters the fabric.
Set your stitch length to 2.0–2.5mm. A shorter stitch perforates the silk excessively and weakens the seam. Reduce presser foot pressure if your machine allows it, so the foot glides over the silk rather than dragging it. Sew slowly, especially through seam intersections. Place a strip of tissue paper under the fabric at the start of each seam so the feed dogs grip something instead of pulling the silk into the needle plate opening, which causes that telltale puckered first stitch.
Thread choice
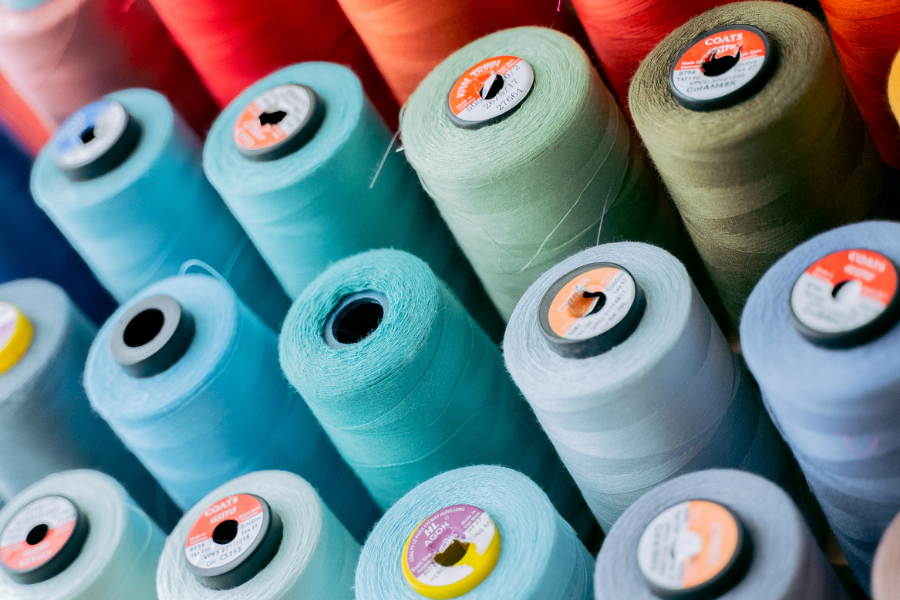
Fine polyester thread in a 50- or 60-weight works well for most silk projects and has good stretch recovery. Pure silk thread is another option for heirloom work; it disappears into seams beautifully. Avoid heavy all-purpose polyester thread like standard 40-weight, which is stiff enough to cause puckering on lightweight silk weaves.
Seam Finishes That Work on Silk
French seams are the standard finish for lightweight silk because they wrap the raw edges inside a second seam. Sew the first seam wrong sides together at 3mm, trim to 1.5mm, press, fold right sides together, and stitch at 6mm. The result is a narrow, tidy seam that holds up beautifully in a silk blouse or slip dress. On heavier silks like dupioni or silk suiting, a Hong Kong finish uses a bias strip to enclose each seam allowance separately, giving you a flat seam with a clean edge that sits well through curves and princess seams. Avoid a serged edge alone on silk chiffon. It tends to tunnel and ruffle along the edge, and it does nothing to stop the fraying that silk is prone to.
Frequently Asked Questions
Can I sew silk on a basic home sewing machine?
Yes, absolutely. You do not need a high-end machine to sew silk. What you need is a fresh needle, adjusted presser foot pressure, and tissue paper under your seams. Most entry-level machines handle silk charmeuse or crepe de chine without any trouble once the setup is right.
What stitch length should I use for silk fabric?
Set your machine to 2.0–2.5mm for most silk weights. Shorter stitches perforate the fabric more than necessary and can weaken lightweight weaves over time. For basting only, go longer at 4.0mm so the stitches pull out easily without leaving marks.
Do I need a walking foot for sewing silk?
A walking foot helps on slippery silks like charmeuse and satin weaves because it feeds both layers evenly from the top and bottom. It is not strictly required, but it reduces fabric drift on long seams, especially when sewing two bias-cut pieces together.
How do I stop silk from fraying while I sew?
Cut your pieces, then handle them as little as possible before seaming. Work with French seams or Hong Kong finishes to enclose raw edges early. If you need to leave cut pieces for a few days, run a quick line of fray check along the cut edges, testing first on a scrap to make sure it does not leave a mark.
Can I use pins on silk fabric?
Use fine, sharp pins and keep them within the seam allowance only. Silk holds pin holes permanently in most weaves, so a pin placed through the visible face of the fabric leaves a mark that will not press out. Silk clips or Wonder Clips work well as an alternative along edges.
Is silk hard to press while sewing?
Silk presses easily at low temperatures with a dry iron and a pressing cloth. The tricky part is avoiding water marks. Always use a dry iron unless you are certain your silk handles steam well. Press from the wrong side whenever possible, and test your iron setting on a scrap before touching your cut pieces.
Which silk fabric is easiest for beginners?
Silk crepe de chine is the most beginner-friendly silk weight. It has enough body to stay put on the cutting table, it does not fray as aggressively as habotai, and it does not slide as dramatically as charmeuse. It sews up into blouses, wrap dresses, and skirts beautifully and forgives the occasional wobble.
Start Sewing With Silk This Season
Silk rewards the sewist who takes a little extra time at the prep and setup stage. Buy more than you think you need (1.5 times the pattern yardage is a comfortable buffer for a first silk project), pre-wash, set up your machine properly, and cut slowly. The finished result, a silk blouse or bias-cut slip dress that drapes against the body in a way no synthetic fabric can replicate, is completely worth it. Browse our hand-selected silks, find the weights and weaves that match your pattern, and shop our curated fabric selection at sewingstudio.com or visit us in Asheville.