


How to Organize and Store Your Sewing Supplies

If you’ve been sewing for any amount of time, I think it’s safe to say that you’ve probably accumulated a fair amount of supplies and tools to help you craft your dream garments, and most likely that stash is getting a little out of control.
Am I reading you right?
Trust me, you’re not alone! Those tiny little needles are strewn about the kitchen table, and you’ve got thread falling out of junk drawers and stashed away in plastic baggies with no rhyme or reason and it’s probably getting a little overwhelming.
Most of us have limited space to use and staying organized is key to minimizing frustration and ensuring you keep enjoying the process of sewing and all that comes with it.
Think about your space…do you love it?
Do you enjoy spending time in there?
If you had a budget to make a few changes, what would they be?
Having recently moved, I had to pack and re-organize my entire sewing room, and it gave me a chance to really take a look at everything I had, and you would be surprised how many “lost” items I found (you know, those things you have to keep going back to the store to get more of even though you swear you had them somewhere, but you just can’t find them?) Moving also means decluttering, and boy did I have a lot of things I didn’t need to hold on to any more.
Getting the chance to “start over” in a new space was just the refresher that I needed, and I wanted to share what I did with you, so you have a game plan to utilize when you get that urge to Spring Clean your sewing space.
Here’s what I did ⬇️
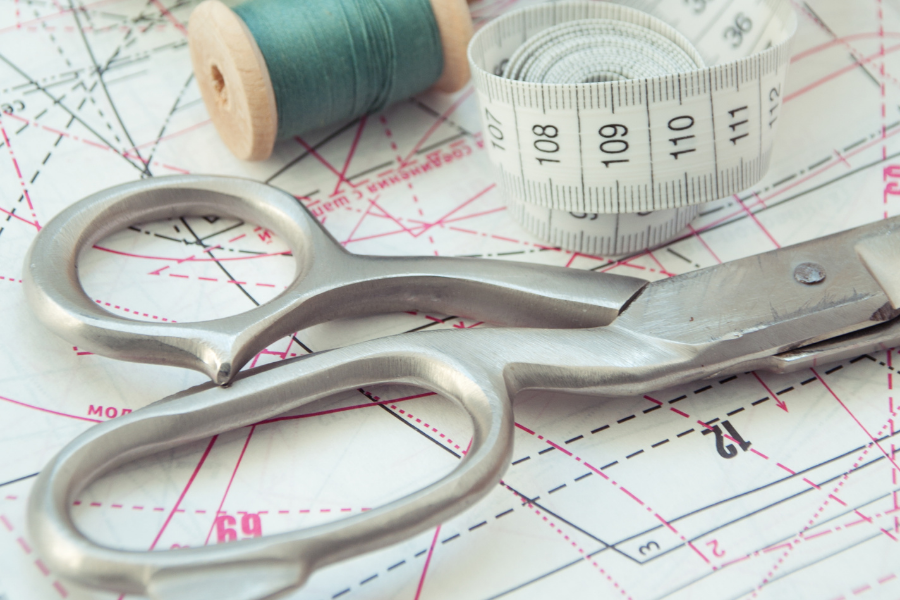
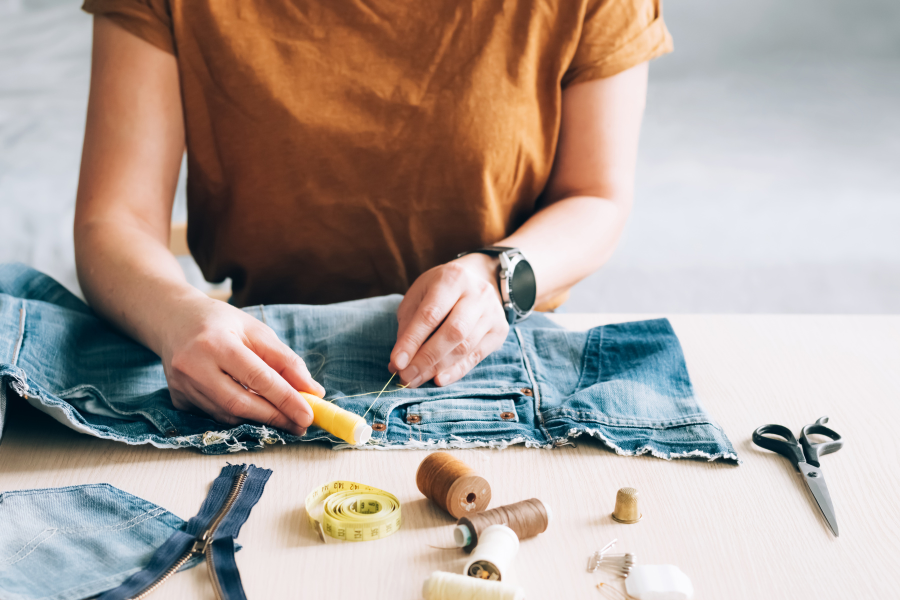
- Sort supplies & tools:
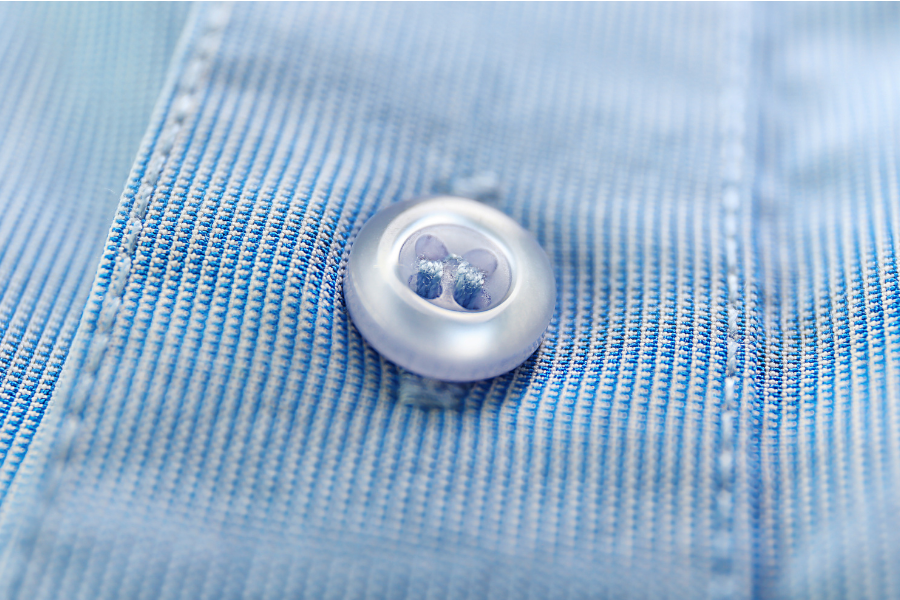
All the buttons in one area, thread, bobbins, presser feet…you get the idea.
- Eliminate anything I no longer used or needed:
This is a great opportunity to be able to donate to schools, kids sewing clubs, animal shelters or local mending groups. You can also offer to give your unneeded supplies to another sewist, or a beginner that may need supplies as they are learning and not have the budget to invest in a slew of their own just yet.
- Find existing storage container or purchase new, to organize your items:
Moving was helpful in this situation because we just had to pack up every single item in our house and it made it easy to see what extra organization supplies we had on hand. But even if you’re not moving, you can still walk through your home with the sole intention of looking for options to utilize for organization and you’d be surprised what you will find that you can use. Jars, baskets, cookie tins, Ziploc bags, boxes, bowls, Tupperware containers that have mysteriously lost their lids (am I the only one this happens to?)
My “score” was a slightly used rolling toolbox. You know the kind mechanics use to store their tools. There are plenty of different sized drawers, a lift up top that can double as a workspace, this one came with rubberized drawer liners to keep things from shuffling around. I happened to get this one from a friend that was moving and could not take it along, but check on Facebook Marketplace, Offer Up or Craigslist and see what you come across. It may take a little elbow grease to get them cleaned up for you to utilize, but it’s very much worth the effort in my opinion.

how cute is this?!
Now that you’ve tossed what you don’t need, and found some storage containers, let’s chat about options that are best for specific types of supplies.
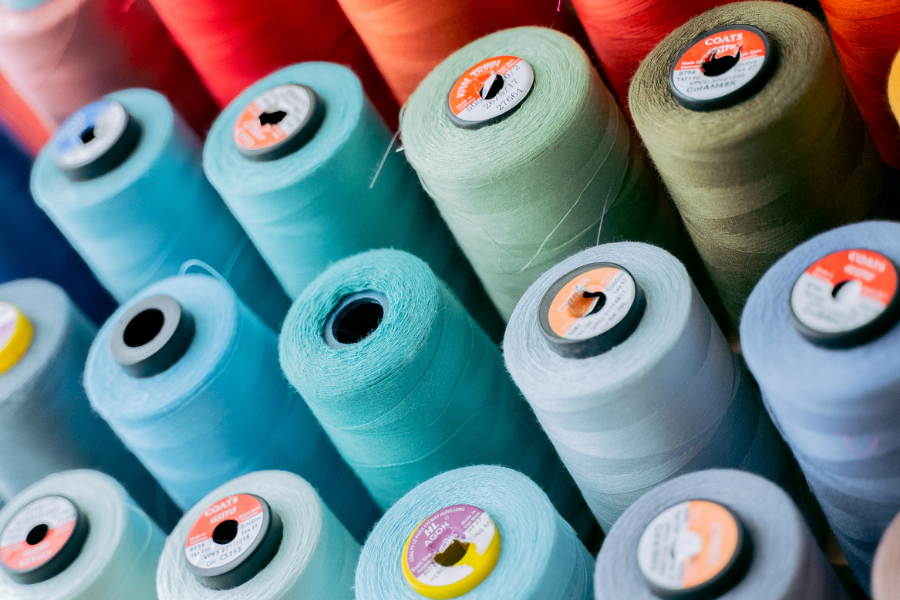
Thread Storage:

I have a hanging thread holder that I picked up at JoAnn Fabric with a 50% off code that I absolutely love! This one can either stand up or hang on the wall, and it holds 120 spools of thread!

Another aesthetically pleasing storage option for thread is the Pegboard option. Pegboards are great for storing threads and frequently used or awkward shaped tools. There are many tutorials for making your own custom pegboard with a quick Google search or you can save yourself time and purchase a ready to go option like this one.
If you select any of these options, remember that long-term exposure to direct sunlight can cause thread colors to fade over time, so thread is best stored away from direct sunlight to prevent this. It’s also a good idea to keep thread stored in a closed container when storing for longer periods of time to prevent dust from gathering on the thread. Dust that settles on sewing thread will most likely not harm the thread itself, but could get into the interior mechanisms of a sewing machine when used and cause problems down the road that are best to avoid if at all possible.
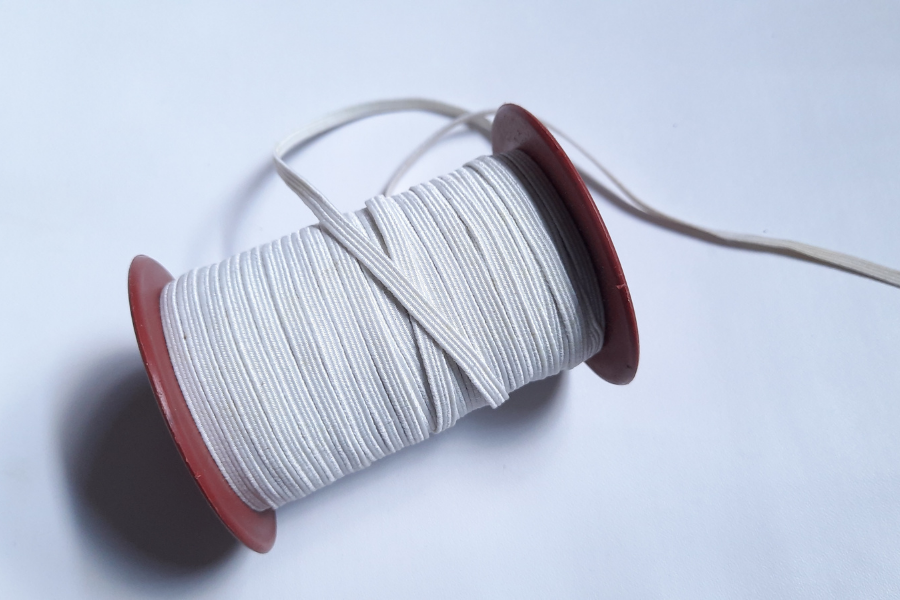
Bobbin Storage Options:
My two favorite ways to store threaded bobbins are in lidded boxes, or Grabbit Bobbin Savers.


The lidded options are great to keep the dust off of the thread (since as we mentioned above, it could cause mechanical issues in your sewing machine), and they secure the bobbins better if say a handsy child or grandchild has themself a little run through your sewing room. 🙃But if you’ve got a Pegboard in your area, the Grabbit is great to pop right on one of those pegs and save precious flat surface space!
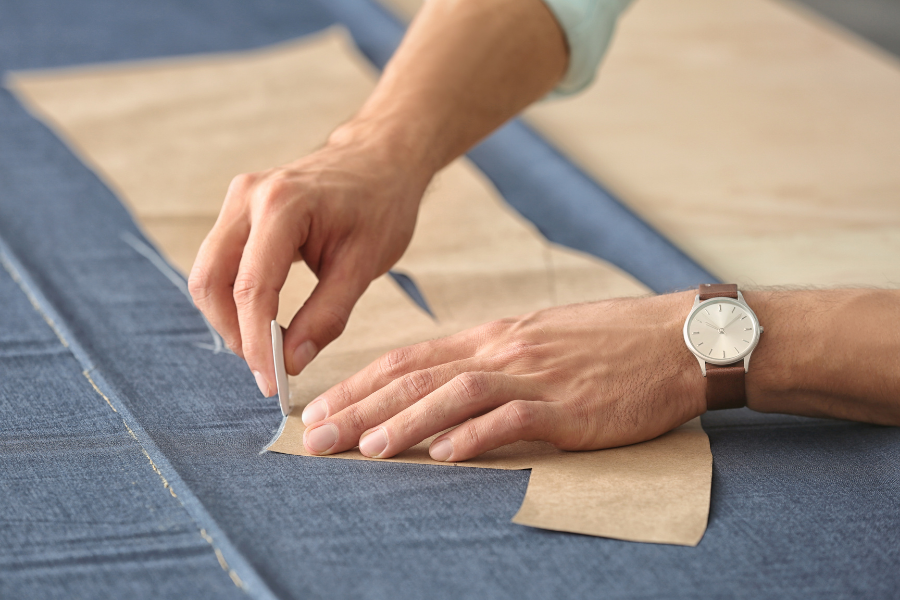
Pattern Storage:
This was a tough choice for me. I have MANY patterns that I have never, and likely will never, sew into actual garment. What to do with those?
Most of the Maker’s Swap groups are not set up to include patterns in the mix – especially those I have printed and never assembled. So, you will need to dig a little deeper when organizing these.
Some things I’ve done to dwindle this stash down to make it more mangeable are:
- Repurpose a few printed PDF patterns and use these as scratch paper
- Share these patterns with others that seem more likely to sew these garments
- And keep my favorites and focus on organizing just these!
So how do I store the patterns that I choose to keep?
For me, the best way to organize these has been to house them all in a manilla envelope with the cover photo attached to the front of the folder. Bulky, yes. Organized, ehh it could be better.

Many sewists have space for file cabinets and use drawer dividers or Bankers Boxes with a certain style of garment in each box. Some put them in notebooks, totes or roll and store in baskets. Manilla folders are what currently work for me, and keep me from tossing them all over the house, so you really just have to pick what works best for you and your space, and what is easy enough for you to keep up with regularly, and just dive all in to that.
One tool that is helpful and has kept me from reprinting a pattern is to keep a spreadsheet.
This may seem a bit odd to those that don’t love spreadsheets…but I love a good spreadsheet and since I enjoy it, it’s something I actually keep up with. Again, you’ve got to do what works best for you ultimately.
If you sign up for the Newsletter from Elizabeth Made This, you can grab one from her resources library, or if you’re creative you can whip one up yourself as well!
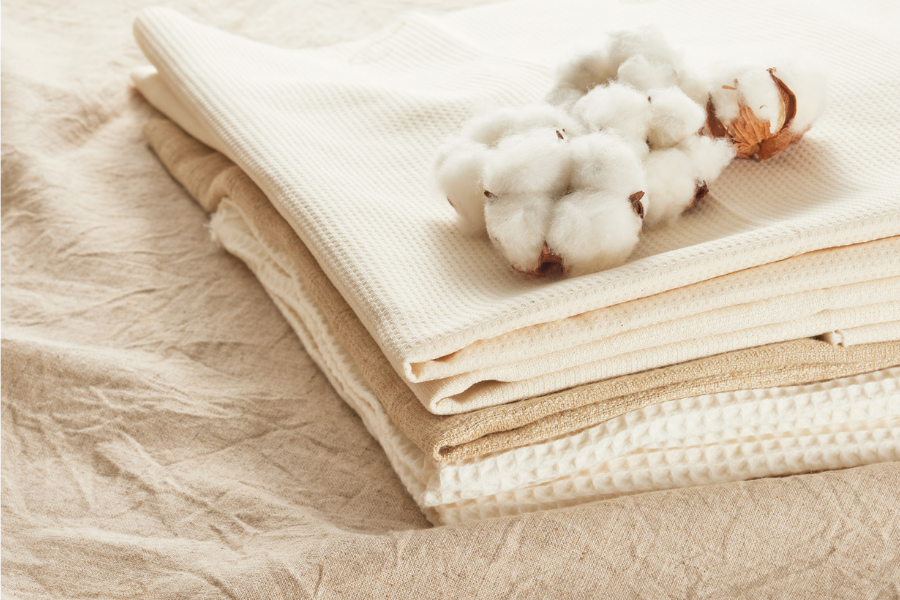
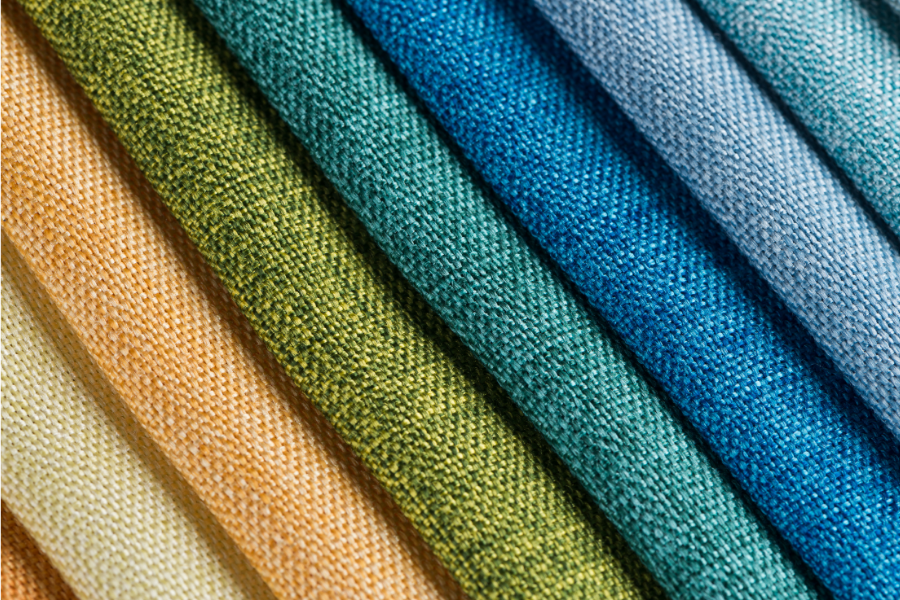
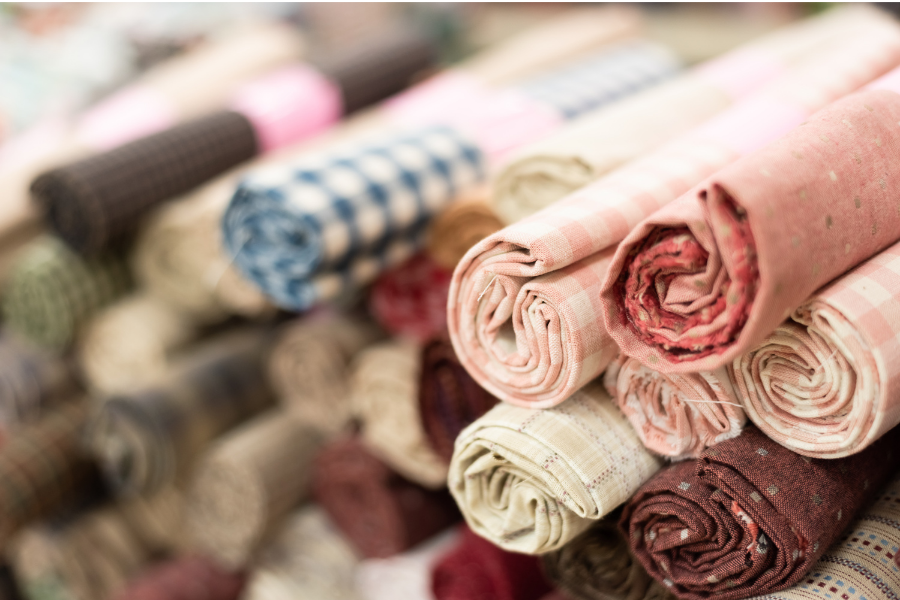
Fabric Storage:
We all know that Sewing and buying fabric are two different hobbies, and while they are both equally enjoyable, storing and organizing your fabric is an entire project of its own.
No matter how large or small your fabric stash is, it can be overwhelming.
If you’ve got ample room in your home for a larger storage option, I recommend a multi-level shelf or cabinet that you can keep in your space that gives you room to grow so you’re not constantly overflowing your storage option.
A cabinet with a door like this option provides extra protection from sunlight and dust to keep your fabric in the best condition possible.


Or a shelving unit with multiple openings gives you plenty of space to grow, and you can easily see and access the fabric you’re looking for without having to dig or move around a lot of other options. This option comes in handy if you need somewhere to house your other supplies we mentioned above as well! Grab a fabric or covered bin to slide into each compartment and you have one big storage unit for all your sewing supplies.
If a shelf or cabinet is not an option, consider a tote that you can slide under a bed or your cutting table.

Organization & Storage Tips:
Some tips I found extremely helpful when organizing all of my supplies that I wanted to pass along are:
- Fold and mark fabrics with yardage, content, and note if you have pre-washed or not, any details that might jog your memory when selecting fabric for a project. My favorite is the KATM Fabric Tape.
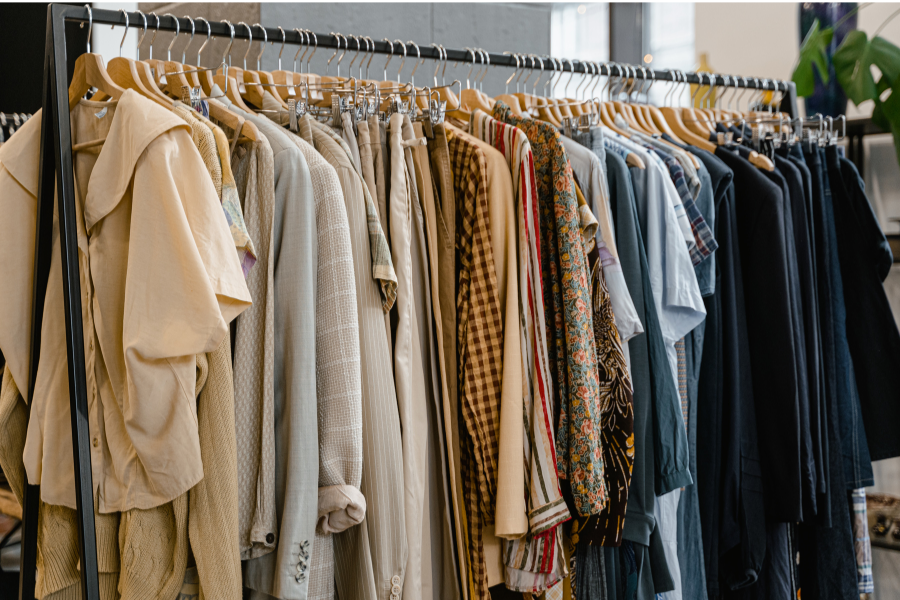
- Shop used or vintage furniture to both accent your sewing room style, or see what you might find at a local garage sale or recycle center. Just make sure things are clean and dry, keep fabrics away from the sunlight and dust, even in the closet if there is room.
- If you don’t have the budget to buy new, shop your house! Check your local Buy Nothing group on Facebook if that’s an option, and see what you can utilize and repurpose in your home to get you started until you can purchase something more long-term and specific for your needs.
- What you choose now doesn’t have to be your forever choice. But just choose something and get organized. I promise, you’ll feel better once you do. Sewing should be fun, not stressful walking into a chaotic room bursting at the seams (pun intended 😉).
Once your space and tools are organized, you know what you have available to use, sewing can be far more exciting. And, unlike me, you won’t be spending money on buying things over and over when you can’t easily find things for a project.
Think about your sewing supplies right now, what do you want to organize or declutter first?
Let me know! And feel free to share your favorite storage and organization tools in the comments below for others to get inspiration from as well!