


French Seams, Step by Step
Key Takeaways
- A French seam fully encloses the raw edge of a seam, giving a clean finish on both sides of the garment.
- It's ideal for lightweight, sheer, and fray-prone fabrics like voile, chiffon, and rayon.
- The technique uses two passes: a first seam sewn wrong-sides-together, then a second enclosing it.
- No serger is required, just a sewing machine and careful pressing at each stage.
Some seams are meant to be seen, and a French seam is one of them. It turns a raw, fraying edge into a narrow, tidy fold that looks as good on the inside of a garment as the outside does. If you've been eyeing this technique but haven't tried it, here's a clear walkthrough.
What Makes a French Seam Special

Most seam finishes deal with a raw edge after the fact, trimming it, zigzagging over it, or serging it closed. A French seam takes a different approach entirely. Instead of finishing the edge, it hides it completely inside a second, narrower seam, so there's no raw edge exposed at all.
The result is a seam that looks like a tiny, neat tube of fabric on the inside of the garment, with no fraying, no visible stitching lines beyond the seam itself, and a surprisingly couture feel for something so simple to sew. It's especially valued for lightweight and sheer fabrics, where the inside of a garment can be nearly as visible as the outside.
Because it involves two passes of stitching, a French seam takes a little more time than a single zigzagged seam. That extra step is exactly what gives it such a clean, professional result.
Best Fabrics for French Seams
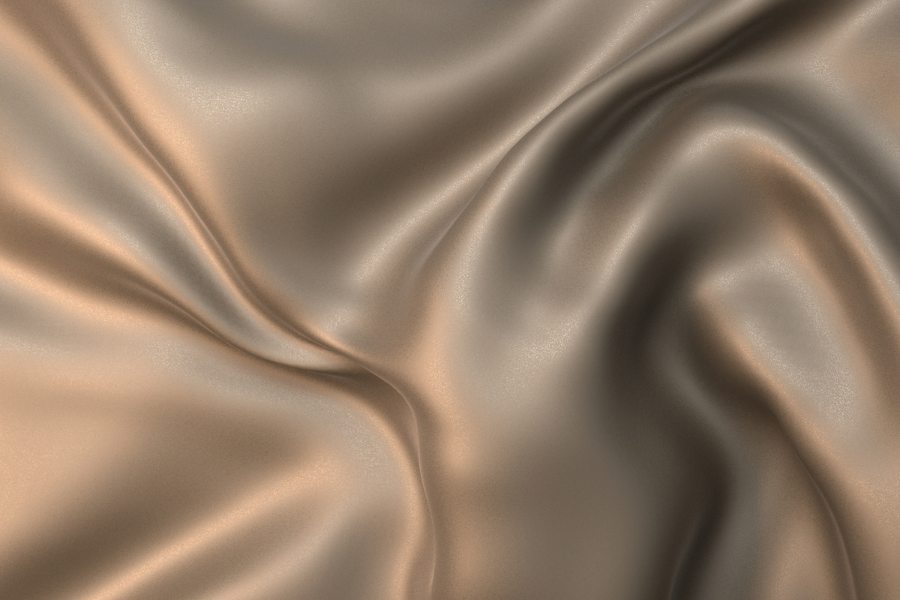
French seams shine most on fabrics that are lightweight, sheer, or prone to fraying, where the enclosed finish really earns its keep. Good candidates include cotton voile and lawn, chiffon and georgette, rayon and viscose challis, and silk charmeuse.
They're less practical on very heavy or bulky fabrics, since the doubled seam allowance can create noticeable bulk. For those fabrics, a serged or zigzagged finish is usually the better call. French seams also work best on straight or gently curved seams; very tight curves can be tricky to execute cleanly with this method.
Step-by-Step: Sewing a French Seam
Here's the process from start to finish. It helps to practice on a scrap first if this is your first attempt.
- Place your fabric wrong sides together. This is the opposite of a standard seam, where you'd normally place right sides together. Pin or clip along your seam line.
- Sew a narrow first seam. Stitch at a narrow seam allowance, often around a quarter inch, though check your pattern's specific instructions since allowances vary. This first seam will be enclosed, so it doesn't need finishing yet.
- Trim the seam allowance. Trim close to the stitching line, leaving just a sliver of fabric. This keeps the final seam narrow and neat rather than bulky.
- Press the seam open, then to one side. Press flat first to set the stitches, then press the seam allowance to one side. This step matters more than it seems, since a crisp press makes the next fold much easier.
- Fold along the seam, right sides together. Fold the fabric so the seam you just sewed sits exactly on the folded edge, enclosing the raw edges inside. Press this fold flat.
- Sew the second seam. Stitch a new seam that fully encloses the trimmed raw edges from your first pass, using a wider seam allowance than before. Your original seam line should sit right at the folded edge.
- Press the finished seam to one side. Give it a final press, and you'll have a narrow, enclosed seam with no raw edges in sight.
The math matters here: your first, narrow seam plus your second, wider seam should together equal your pattern's total seam allowance, so the garment comes out the correct finished size.
Common Mistakes and How to Avoid Them
A few missteps show up often with French seams, and each has an easy fix. Trimming too much or too little on the first pass is common; too much and you risk fraying reaching your stitching, too little and the seam turns bulky. Trim consistently, leaving just a thin, even sliver of fabric.
Skipping the pressing steps is another frequent shortcut that backfires. Because this technique relies on precise folds, an unpressed seam is much harder to sew accurately the second time around. Take the extra minute at the ironing board; it pays off in a cleaner final result.
Finally, watch your seam allowance math. If your first and second seams don't add up to the pattern's total allowance, your garment can come out slightly smaller than intended. Double-check your numbers before you start, especially on a fitted garment where every fraction of an inch counts.
Where French Seams Work Best in a Garment
French seams are most commonly used on side seams and sleeve seams, where they're straightforward and highly visible if the garment is unlined. They're a favorite for lightweight blouses, sheer overlays, and rayon dresses precisely because those fabrics fray so readily and the inside finish matters.
They're less ideal for seams with a lot of curve, like a set-in sleeve cap or a fitted princess seam, where the technique becomes fussier to execute cleanly. For those areas, many sewists mix finishes within a single garment, using French seams on straight seams and a different finish, like a serged or bound edge, on curved ones.
Frequently Asked Questions
What is a French seam used for?
A French seam is used to fully enclose a raw fabric edge inside a narrow, folded seam, preventing fraying without a serger. It's especially popular for lightweight and sheer fabrics like voile, chiffon, and rayon, where a clean interior finish matters.
Do I need a serger to sew a French seam?
No. A French seam is sewn entirely on a regular sewing machine using two passes of straight stitching. It's actually one of the best seam finishing options for sewists who don't own a serger.
Can I use French seams on curved seams?
French seams work best on straight or gently curved seams. Very tight curves, like a set-in sleeve cap, are harder to execute cleanly with this technique, so many sewists use a different finish on tightly curved seams within the same garment.
Why is my French seam bulky?
Bulk usually comes from trimming too little fabric on the first seam pass or from using the technique on a heavier fabric. Trim close and even after the first seam, and reserve French seams for lightweight to mid-weight fabrics for the cleanest result.
How much seam allowance do I need for a French seam?
Your first, narrow seam and your second, enclosing seam should together add up to your pattern's total seam allowance. Check your specific pattern's instructions, since the split between the two passes can vary slightly.
Summary
A French seam turns a fraying raw edge into a clean, enclosed finish that looks as good inside a garment as it does outside. The technique takes two passes: a narrow first seam sewn wrong sides together, then a second seam that encloses it entirely, with careful trimming and pressing at each stage. It's especially well suited to lightweight and sheer fabrics that fray easily, and it requires nothing more than a regular sewing machine. Practice on a scrap first, and you'll have a couture-level finish ready for your next delicate project.